Winters are leaving and summers are just around the corner. I wonder why the dryness of my skin has not yet left me. Well, that’s the case with every girl out there who have dry or oily skin. Dry skin is more like plants with no water in them. If you are one of those people who look into the mirror just to notice the flakes coming out from your cheekbones then you have got me, girl. The ultimate guide for every skin type which is mentioned below is going to be your lifesaver for all the special occasions.Making it clear and to the point here is the DIY Facial for dry skin.
Dry skin always needs proper care. It is very important to nourish and moisturize your skin every time it feels flaky or dry. However, it is not an easy task. One cannot take all the products with them in their bags and roam around the corners and apply it. To make your skin supple and smooth like butter you can definitely rely on this DIY facial for dry skin. It will make your skin look glowing and prep.
Have you ever thought of not investing money in parlours and getting the same results at the comfort of your place? Yes, that’s true. It happens when you are on with your energy level and skills to do a DIY facial at home. All the steps of this facial are going to provide nourishment to your skin which in turn will make it moisturized for a long period of time.
5 Step DIY Facial:
1. Remove your makeup
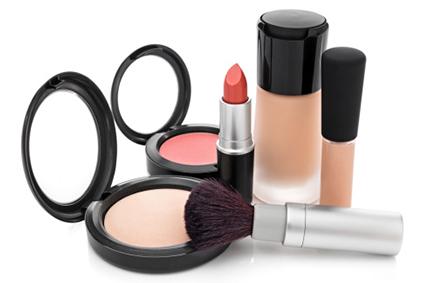
The importance of removing makeup before sleeping or anytime cannot be stressed enough. It is utterly important to remove your makeup if you are going to take a good nap or even if you are done with your party/occasion. Removing your makeup is definitely a task because you need to ensure that every bit of your mascara and foundation is eradicated from your face.

A quick DIY makeup remover is here –
Coconut oil works like magic on your face to remove makeup. Take a little amount of coconut oil and rub it on your face gently in circular motions. Cleanse from the nose in the upwards and downward direction. Take it through your lashes to remove waterproof mascara easily.
You can also use Johnson’s baby oil to remove your makeup.
Rose water mixed with aloe vera gel is also perfect and works as a great makeup remover.
2. Cleansing
Cleansing your face after removing makeup is a very important step. It is known as double cleansing to ensure that even a single particle of makeup should not reside on our face. Cleansing is really good as it makes your skin clean and supple. It is considered as the prime step of facial. From now the actual facial has begun.
 A Hasty DIY cleanser is here –
If you have oily or acne-prone skin then use neem water with Multani Mitti as a face cleanser. Mix both the ingredients well and massage it on your face gently. It looks like a face mask but we will use it as a face cleanser.
If your skin is extremely dry then you can use honey as a gentle face cleanser. Apply it on your face and gently massage it like a PRO.
You can also use milk to clean your face properly. Milk will not only nourish your skin but will also make it smooth and soft.
3. Exfoliation
A homemade scrub does wonders to your skin if it is directed in an exact way. DIY facial at home is undeniably very easy and affordable. The DIY facial for dry skin also helps in achieving a radiant and lustrous skin with ingredients that are present in our home. Exfoliation is one of the most important steps of facial at home. It helps in removing the dead skin cells from our face. To reveal your gleaming and lustrous skin it is extremely important to exfoliate it.

A zealous DIY scrub is here –
If you have dry skin, then you can use oatmeal scrub. Mix honey, oatmeal and olive oil in a bowl and gently exfoliate your face with the scrub. Use circular motions while exfoliating as it will regulate the blood circulation.
If you have oily skin then use a sugar scrubs. Mix sugar and few drops of lemon juice in honey and whisk it really well. Use this scrub to make your skin free from acne scars and dead skin.
You can also use tomato and sugar scrub. Cut a tomato in half and pour small granules of sugar in it. Now rub very gently to avoid any breakouts.
4. Steaming
Everyone here might have experienced the problem of open pores someday or the other. Some people don’t realize that it is very important to open our pores especially if you are doing a DIY facial. Steaming is the fourth step of DIY facial for dry skin. The process is based on opening the pores of the skin so that all the impurities can stamp out from your face. The step is important because it helps in removing grime, dirt, and everything that is stuck on your face from so long.

You don’t owe an expensive steamer? Here is your steamer
Take water in a pot and leave it on the stove. After it boils take it from the stove. Now, wrap a towel around your head and place it above the pot so that the steam hits the face eventually.
Repeat the process for good 3-5 minutes.
To provide extra nourishment and herbal feel to your skin, pour 2-3 drops of lavender essential oil or peppermint essential oil in the hot water.
5. Facial Mask
When all the impurities are extracted from our face, it is very important to nourish and nurture our skin. For that, a facial mask works like magic in a DIY facial at home. A DIY facial mask is not only cost effective but it also provides a radiant and gleaming glow to the skin.
Don’t spend your valuable money on expensive facial masks. Here is your superfluous DIY face mask.
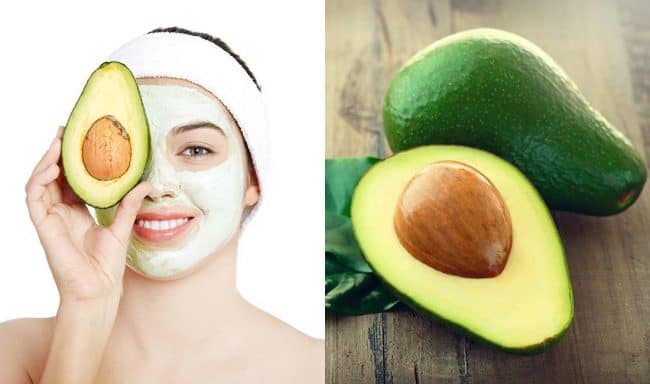
People who have extremely dry skin and normal skin can use a healing Avocado mask. Take the ¼ portion of an avocado and mash it properly. Now add yoghurt in it and blend the paste to make it smooth. You can also use essential oils in it to make it more herbaceous and enhance goodness. Apply it for good 10 minutes and then rinse it off with normal water and pat dry.
With that, we finish our DIY facial for dry skin. This DIY facial at home is one of the easiest procedures to achieve radiant looking skin. After these 5 steps, one can go on with their TM routine (Toning, Moisturizing).


